
About Me

- Jennifer Wong
- My name's Jen. This is the place where I share my love of art with the world. Please stay a while, and leave a comment if you wish :)
Saturday, 31 December 2011
Outlines Triple Christmas Tree Card
Friday, 30 December 2011
Punch Art Santa Face

Nana's Needlepoint Pillow

Cross Stitched Quilted Wreath

I remember many nights in the past cross stitching until 2 or 3 in the morning, just one more stitch...
This piece of needlework is a Christmas piece, but I think I'll leave it out all year long. The picture doesn't show it well but it's beaded with seed beads. I like doing pieces this size, big enough to be a challenge but small enough to finish before I get too distracted with other projects.
My New Year's resolution this year is to sift though my craftroom, craft storage cupboards, drawers, behind doors and inventory, sort, organize and purge!! I am going to do it with blinders on so I don't get caught up in creating before I finish cleaning up. I've tried to do it several times and I never make it past the first drawer before I find something interesting enough to keep me up until 3 a.m. I'll try and post some before and after photos. Maybe the pressure if having to post it will keep me on task!! Wish me luck and I'll hopefully be ready for a yardsale in a few months!
Thursday, 29 December 2011
Holographic Embossed Snowman Card

All in the Family Framed Card
 |
| Merry Christmas Lindley Family!! |
Wednesday, 28 December 2011
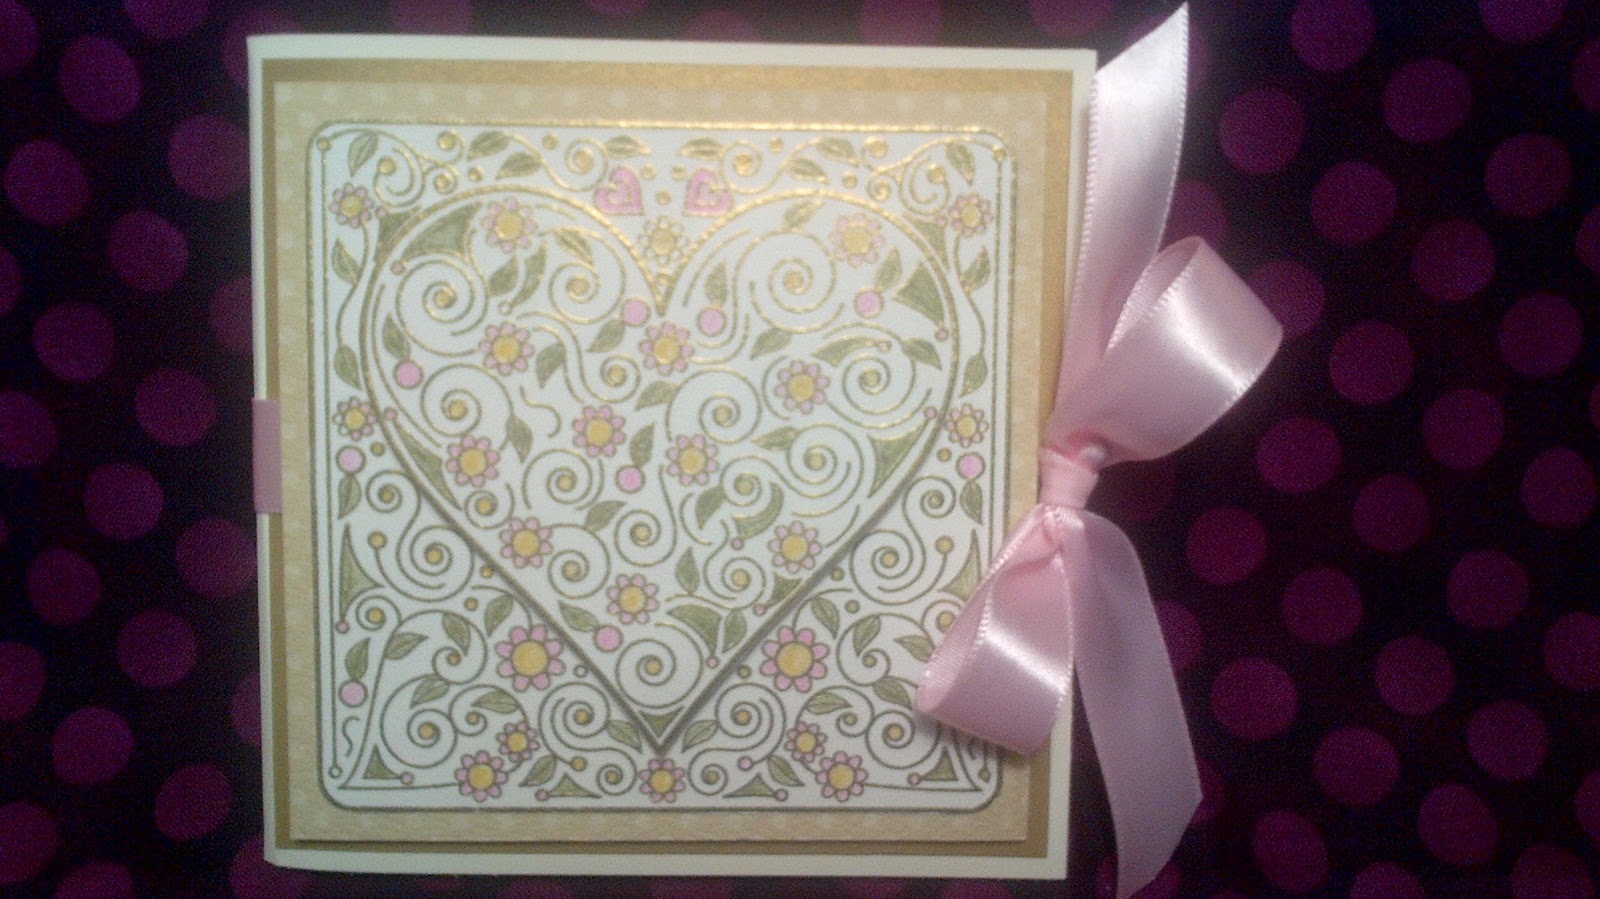
Valentine Floating Heart Card
I bought this gorgeous Outlines stamp a few years ago and have been meaning to make a Valentine's Day card with it, hope you like it! Stamp: outlinesrubberstamp.com #H700. Used the 'gift card slot idea' to create a 'ditch' which holds acetate strips with hearts adhered to tips. I was going for a floating heart look when the card is untied and opened.


 |
| Definitely have to use sticky strip to hold the 'ditch' together!! |
Stampendous Stretchy Stamps - Mini Snowmen
I love Stampendous stamps! When I bought this snowman set initially I didn't realize that the stamps stretched. It wasn't until I read the package when I got it home and checked out Stampendous.com that I began to understand just how cool these stretchy stamps are! I decided to make a little zigzag card after seeing a similar card somewhere (if I find the source, I will post it - sorry!). Stamp and colour snowmen and dress them up in their little hats and scarves, I used my Prismas and added stickles. Draw tree shape or use clipart, cut out and run through crimper.


Tuesday, 27 December 2011
Believe Christmas Card
I found these two stamps at Heather's Stamping Haven in Ottawa, I think they are both made by Stampendous. For cardbase: A2 size, 4 1/4" x 51/2", used spellbinder nesting ovals to die cut oval window. Stamp 'Believe' with Versamark and emboss with silver tinsel powder, trace stamp for backing twice, enlarge one tracing to create layer. Stamp Frosty's hat black Stazon twice onto water colour paper. Colour with pencil crayon and odorless mineral spirits, cut out and adhere to first image with low profile adhesive foam dots. Add some punched snowflakes, and of course everything is better with Stickles on it!


Penny Roller/Punch Art Snowman Card
This is such a cute Christmas card and once you learn how to make the penny roller mechanism you can change the card to suit any occasion! Use 1/2" wide x 1/4" thick round foam adhesive dots to make the 'penny sandwich' and cut a slit in the card front slightly wider than the foam dot. Make slit using an Xacto knife and be sure your blade is sharp.


I made the inner tube for the snowman to ride on out of a circle of black cardstock, sponged a bit of white ink on the edges and covered the whole surface with Diamond Glaze to give it the 'look' of a tire. Weeeee!
Subscribe to:
Comments (Atom)